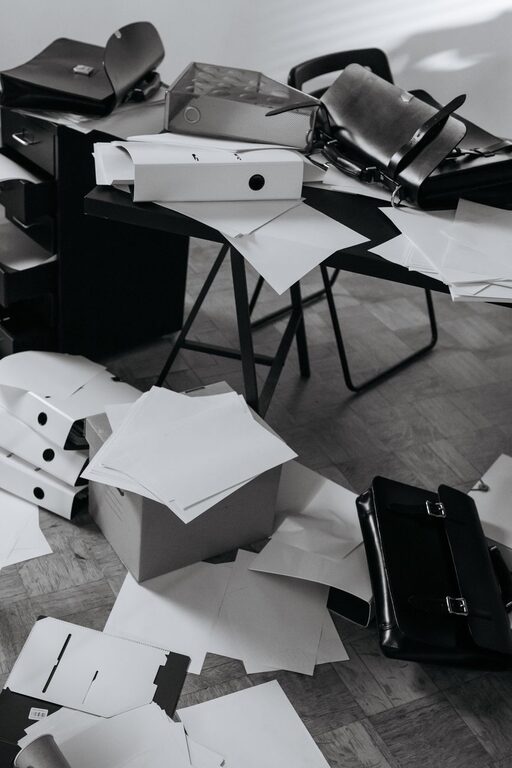
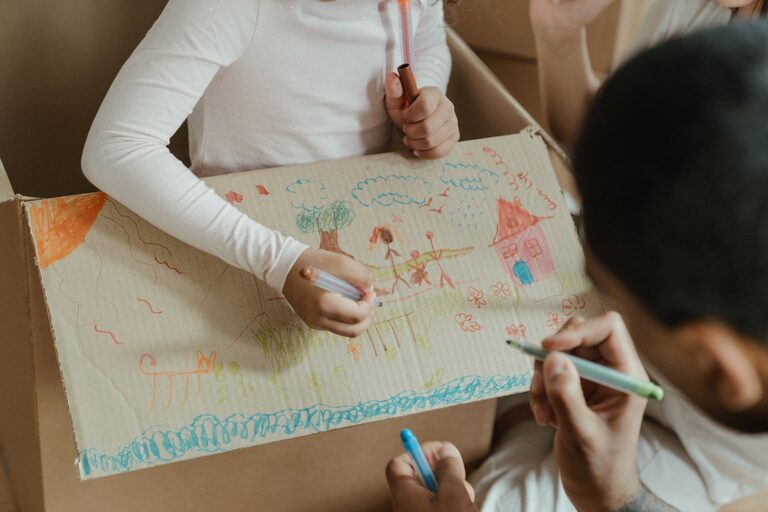
Every parent knows that kids’ artwork can pile up fast, creating both a treasure trove of memories and a potential source of clutter. From colorful drawings to 3D crafts, children’s art deserves to be cherished—but without an organized system, it’s easy for masterpieces to get lost or damage your living space.
In this post, we’ll explore simple, effective strategies to help you keep kids’ art organized, so you can enjoy their creativity without the mess. Whether you have a budding Picasso or a seasonal craft enthusiast, these tips will help you balance sentimentality and tidiness.
Why Organizing Kids’ Art Matters
Before diving into how to organize, it’s worth considering why it’s helpful to create a system:
– Preserves memories: Kids grow fast, and their art reflects their development and interests. Keeping it organized helps you revisit these special moments.
– Reduces clutter: Papers and projects can accumulate quickly. Organization keeps your home neat and prevents overwhelm.
– Teaches kids responsibility: Involving children in sorting and storing their art can encourage them to care for their belongings.
– Makes sharing easier: When art is orderly, it’s simpler to show relatives, decorate your home, or create gifts.
Creating a System: Where to Start
1. Set Up a Designated Art Space
Having a clear spot for art materials and finished pieces helps contain the mess:
– Use a drawer, shelf, or storage bin for ongoing projects.
– Create a display area like a bulletin board or wall wire for recent creations.
– Consider a small table or desk just for art activities.
2. Sort Regularly
Decide on a routine for reviewing and sorting art, such as weekly or monthly:
– Keep the most meaningful pieces.
– Recycle or discard duplicates, scribbles, or damaged work.
– Set limits on how much art you keep to avoid overflow.
3. Use Storage Solutions That Work for You
Different formats need different storage methods:
– Flat artwork: Use expanding folders, large envelopes, or flat plastic bins.
– 3D projects: Store in clear plastic containers or photograph and then recycle bulky items.
– Digital copies: Take photos or scan artwork to save space and create digital albums.
Practical Tips for Organizing Kids’ Art
Display Creatively
Showing off art can be part of the organization:
– Install a rotating gallery with clips or frames that open easily.
– Hang a clothesline or wire with clothespins in a playroom or kitchen.
– Use magnets on the fridge for simple and accessible display.
Label and Date Each Piece
Adding labels with dates and notes about the artwork’s context will make it easier to remember the story behind each creation later.
– Use sticky labels or write lightly on the back.
– Include your child’s age or grade for perspective.
Create an Art Binder or Portfolio
Collect smaller pieces in plastic sleeves inside a three-ring binder or portfolio case:
– Categorize by date, theme, or school year.
– This method makes flipping through old art fun and manageable.
Digitize Artwork
If physical storage isn’t practical, digitizing is a great alternative:
– Photograph or scan each piece.
– Store images in organized folders on your computer or cloud.
– Use apps designed for saving kids’ artwork.
– Consider creating photo books or slideshows for keepsakes.
Involve Your Child
Make organizing art a fun activity:
– Let your child choose favorites to keep or display.
– Teach decision-making skills about what to save.
– Encourage labeling or storytelling around their art.
Organizing Supplies for Ongoing Creativity
Keeping art supplies tidy also helps maintain overall order:
– Use clear containers or jars for crayons, markers, and brushes.
– Label each container for easy access.
– Store supplies within reach but in a controlled space.
– Regularly declutter dried-out or broken supplies.
Seasonal and Themed Organization
Some parents find it helpful to sort artwork by seasons or themes:
– Store holiday crafts together to bring out each year.
– Group school projects or art from trips and events.
– Rotate displays to match the time of year.
When to Let Go
It can be tough to part with children’s art, but sometimes less is more:
– Keep only the most meaningful or unique pieces.
– Use photos to save memories without storing everything physically.
– Repurpose artwork into cards, wrapping paper, or collages.
– Remember that the creative experience itself is priceless.
Final Thoughts
Organizing kids’ artwork doesn’t have to be a daunting task. By setting up a system that fits your family’s style, you’ll preserve precious memories while keeping your home neat. With a mix of display ideas, smart storage, digitization, and involving your child, you can celebrate their creativity in a fun, manageable way.
Start small and find what works best—before you know it, you’ll have a cherished collection that’s both organized and inspiring!